Welcome to What To Have For Dinner Tonight – a collection of easy weeknight dinners designed for busy evenings when you want something delicious without spending hours in the kitchen!
Here you’ll find quick recipes, comforting family dinners, one-pot meals and simple dishes packed with flavour and vegetables. Whether you need a 15-minute meal, a creamy pasta dish or a healthy midweek dinner idea, these recipes are designed to make everyday cooking easier. If you’ve found yourself wondering what to have for dinner tonight, you’re in the right place!


start here: easy weeknight dinners
If you’re wondering what to cook tonight, you’re in the right place! My Easy Weeknight Dinner Recipes hub brings together over 70 delicious dinner ideas, from comforting pasta dishes and one-pan meals to simple chicken recipes and quick midweek favourites.
Whether you’re cooking for family, friends or just yourself, you’ll find plenty of inspiration for easy, satisfying dinners.

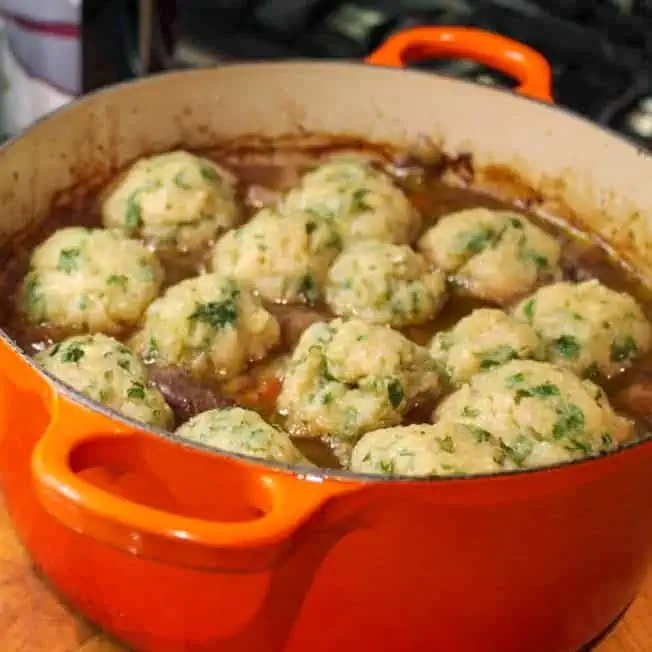
Cosy Weeknight Comfort Food
When you need something warming and properly satisfying, these comfort food recipes always deliver. Perfect for chilly evenings or when only something cosy will do!
Chicken and Tarragon Pie
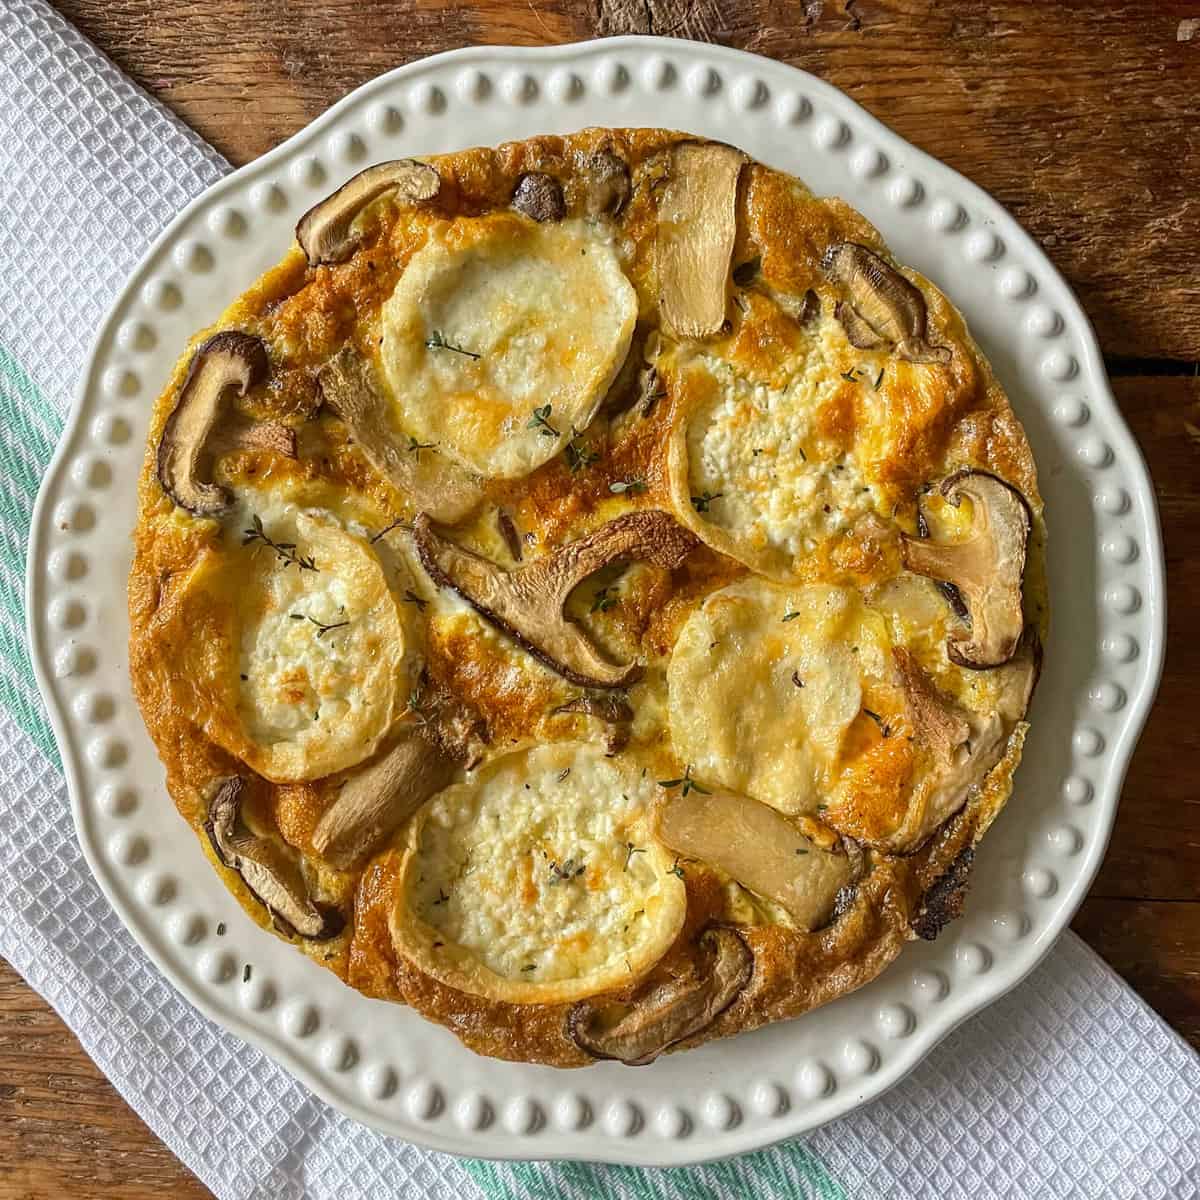
Anglesey Eggs
15 Minute Mac and Cheese
Chorizo and Halloumi Pasta
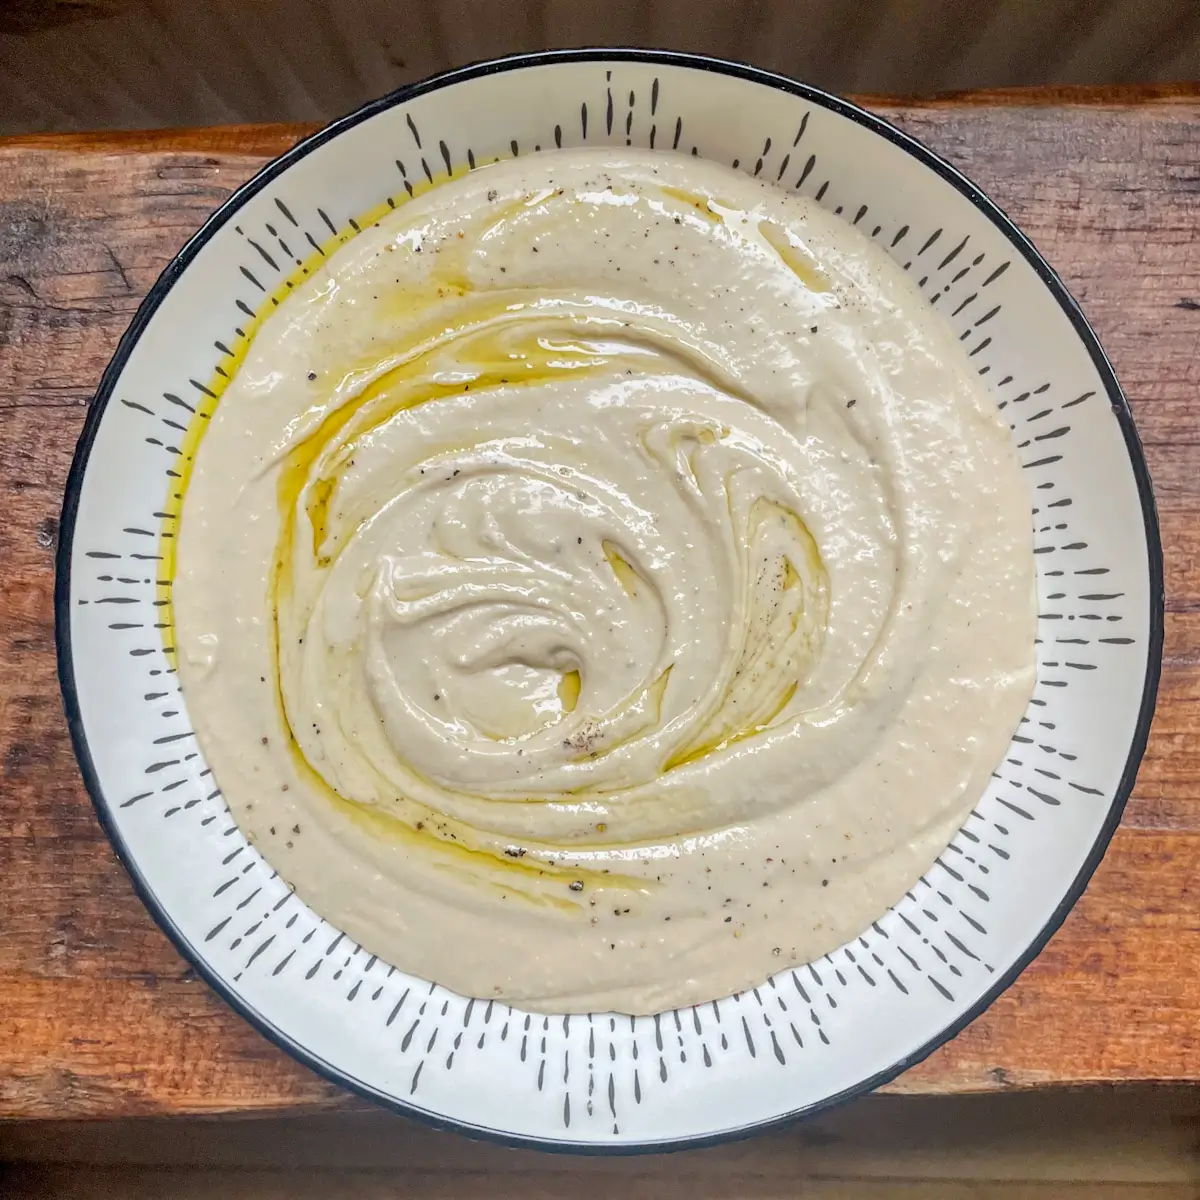
Dinner Inspiration
-
Pan Fried Salmon with Lemon Parmesan Orzo
Crispy skinned salmon fillets with lemon Parmesan orzo with peas and parsley – a perfect Mediterranean dinner in under 30 minutes.
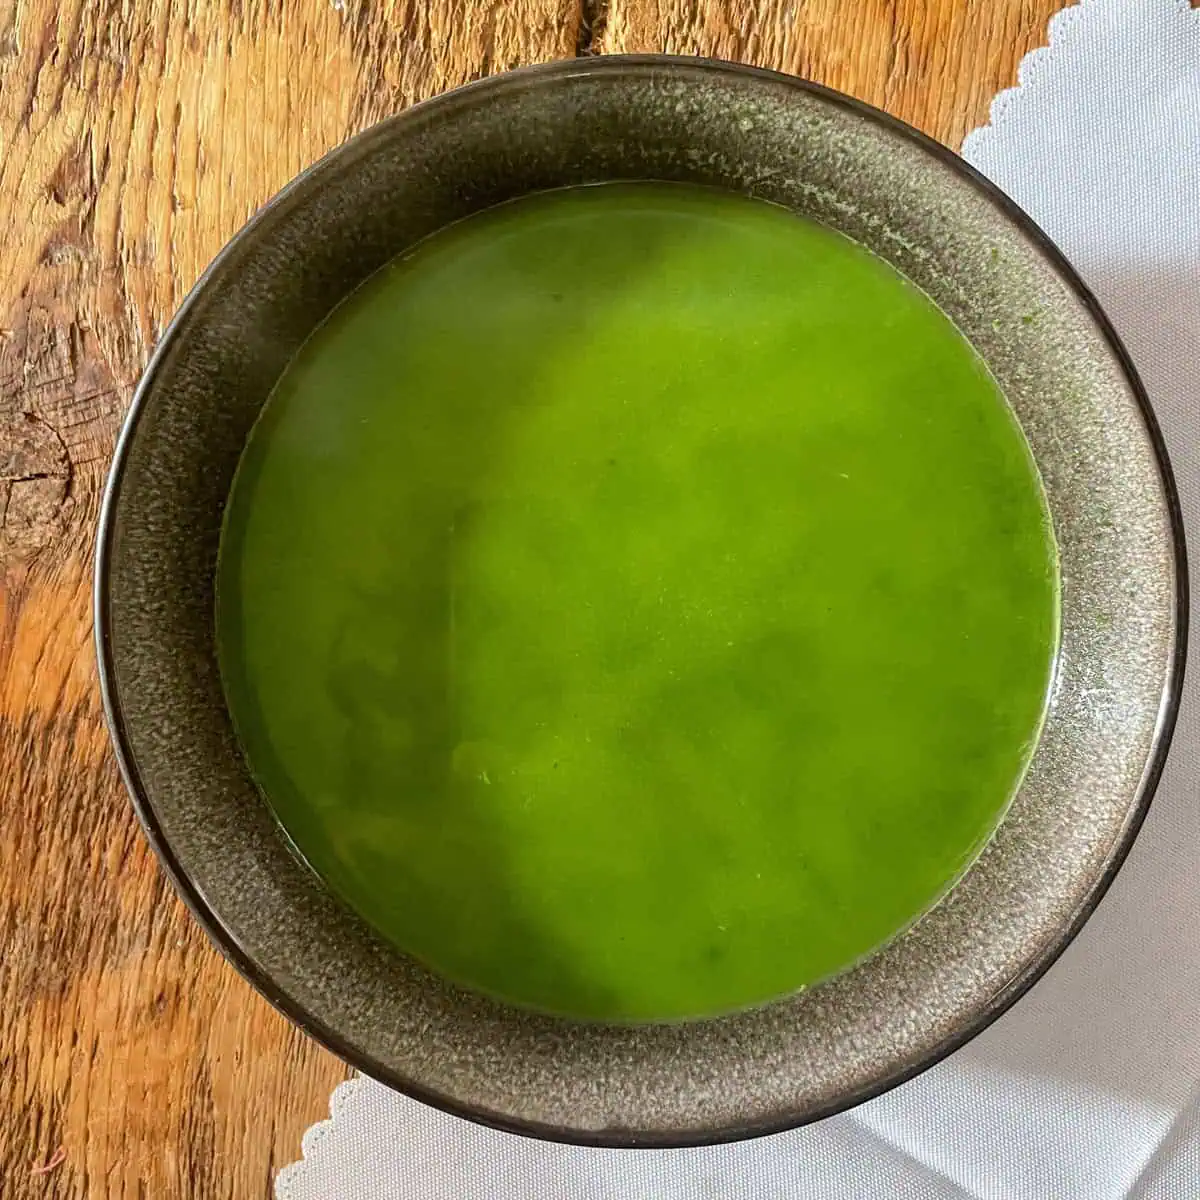
-
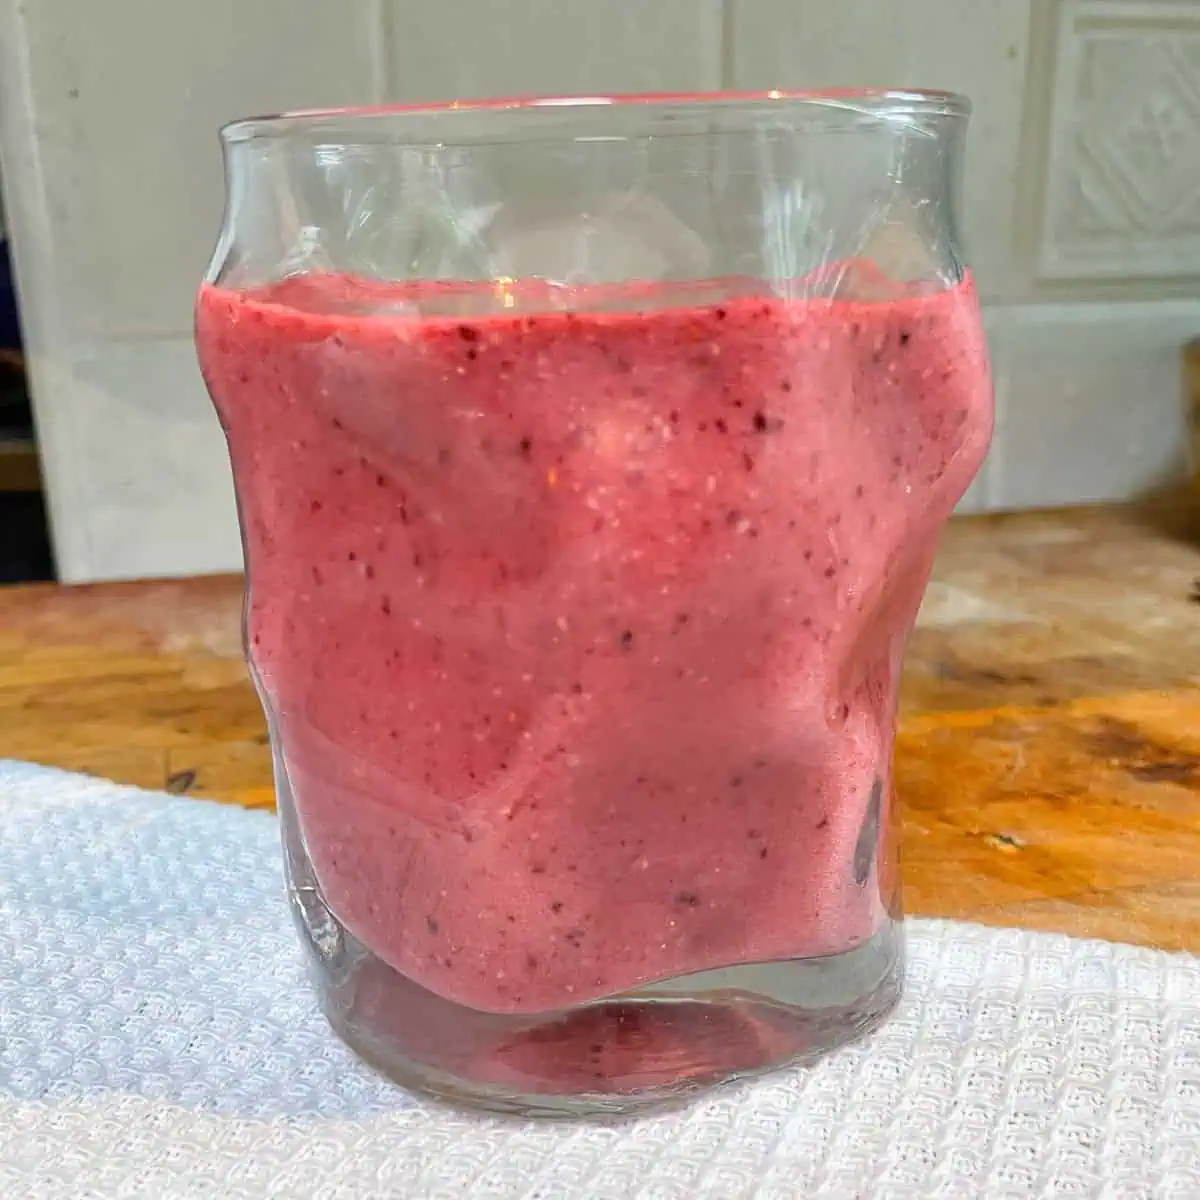
Summer Fruits Smoothie
This quick and easy summer fruits smoothie uses frozen summer fruits and is ready in less than 5 minutes.

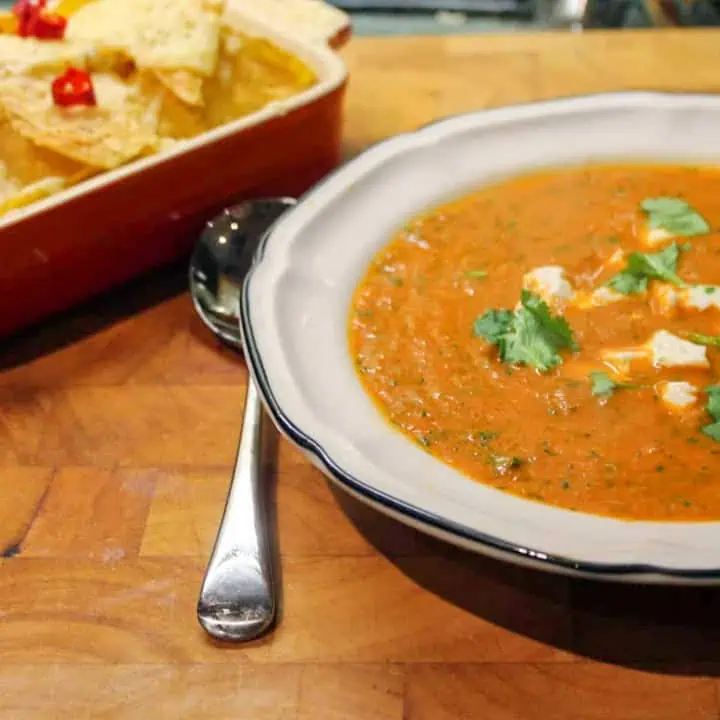
-
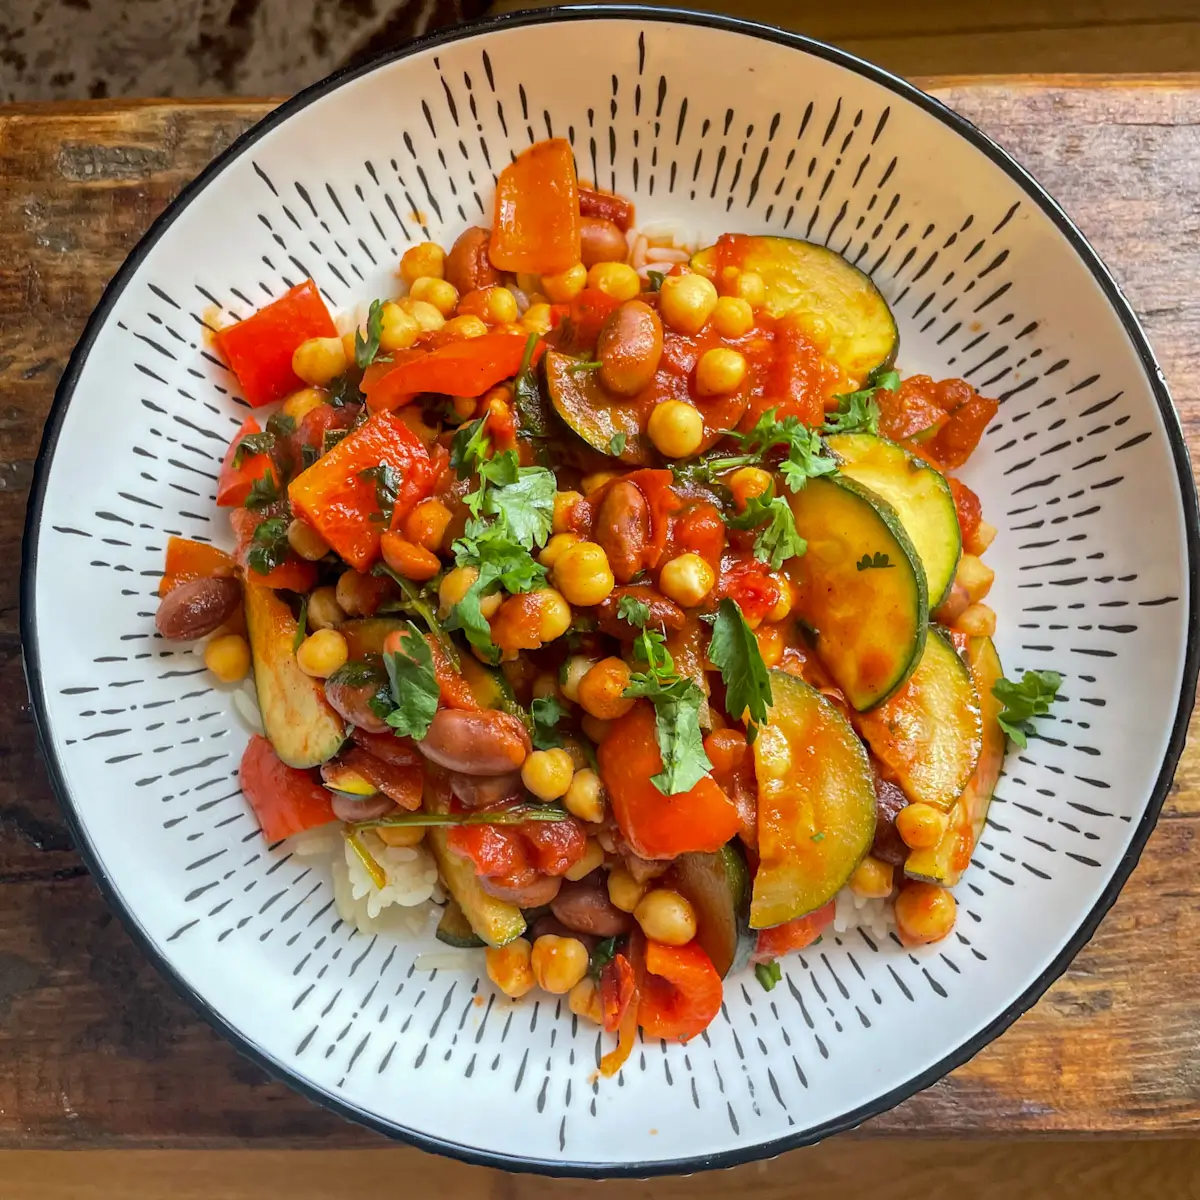
Chickpea and Courgette (Zucchini) Vegan Chilli
A veg-packed vegan chilli recipe with chickpeas, courgettes (zucchini) and red peppers that’s ready in less than 30 minutes.
-
Creamy Leeks With Smoked Paprika
These creamy leeks with smoked paprika and cheese make the perfect side dish for roast meats.


Meet Harriet
Hi! I’m Harriet, a published author, recipe developer, and lifelong food enthusiast who’s been sharing tried-and-tested recipes here on What To Have For Dinner Tonight for over a decade. As a working mum who understands the daily dinner dilemma, I create simple, flavourful meals that fit into busy lives. From quick family favourites to weekend baking projects with my toddler, every recipe is tested in my kitchen and approved by my family (including two cats who supervise!). My mission? To help you enjoy home-cooked meals without the stress.
Connect with me
Connect with me for daily recipe inspiration and behind-the-scenes glimpses of what’s cooking in my kitchen! You’ll find quick tips, meal ideas, and the occasional cat photo too.
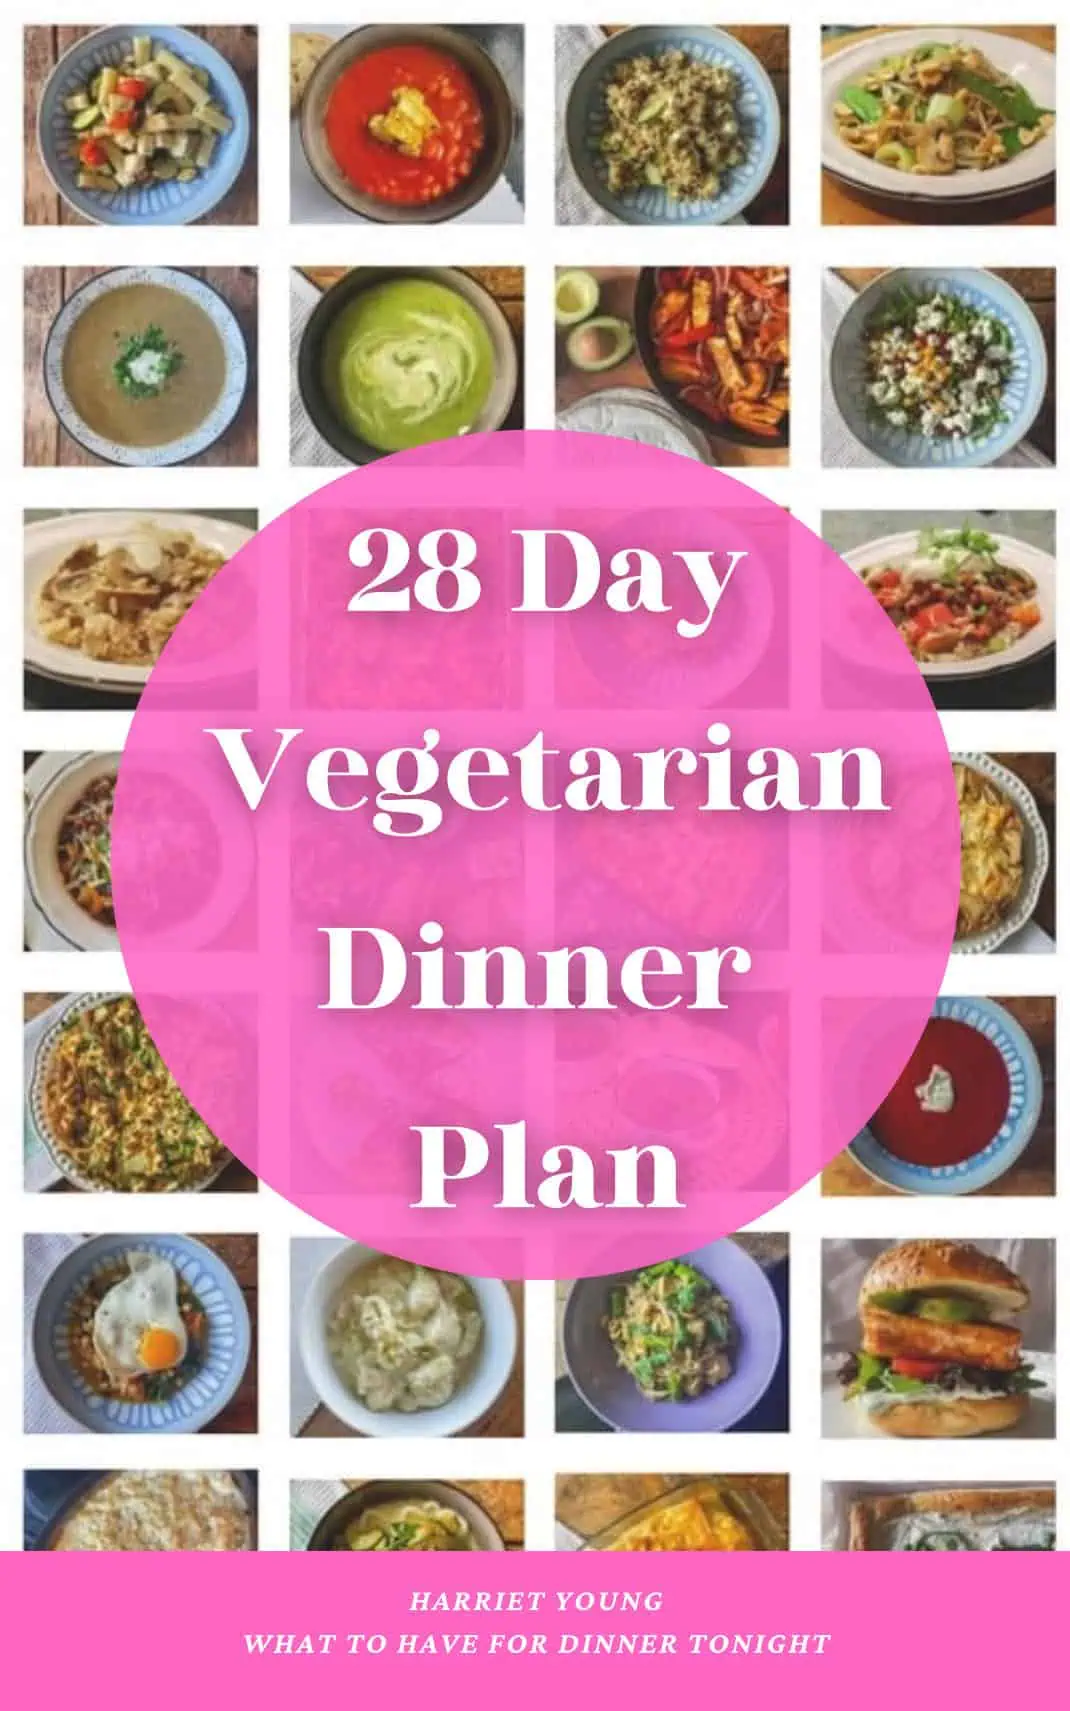

Get the Cook Books
From published author Harriet Young (that’s me!) comes my handpicked collection of tried-and-tested digital cookbooks. Featuring my signature 28-day vegetarian meal plan (complete with shopping lists), inspiring breakfast recipes, and 15-minute dinners, these guides bring the same reliable, delicious recipes you love from my blog straight to your kitchen.
Top 15 Minute Meals


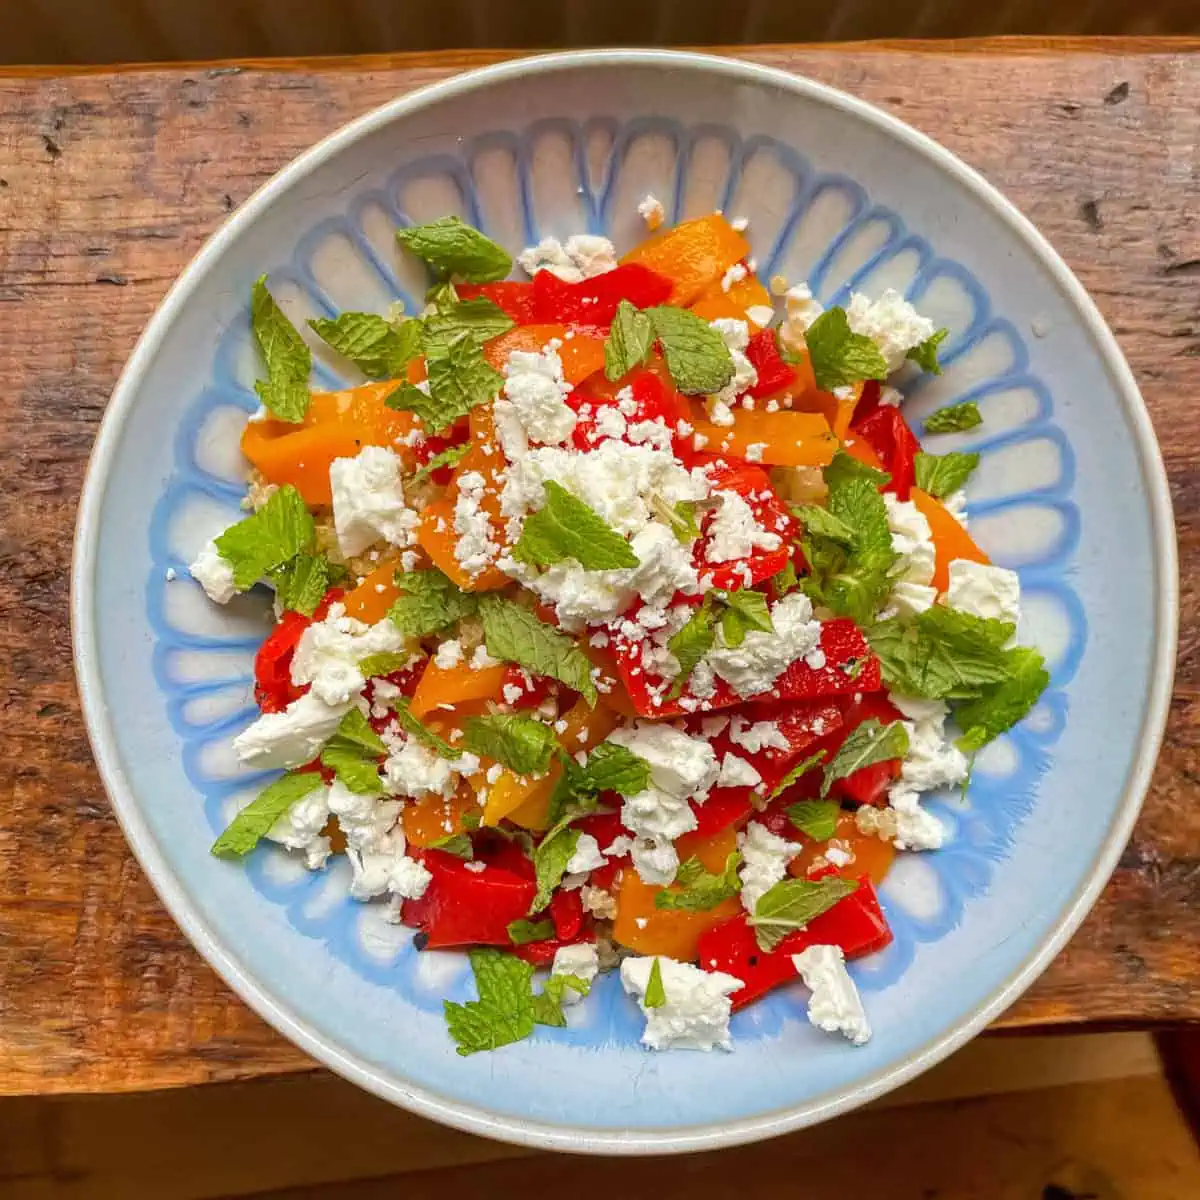
Quick and Easy Salad Recipes
-
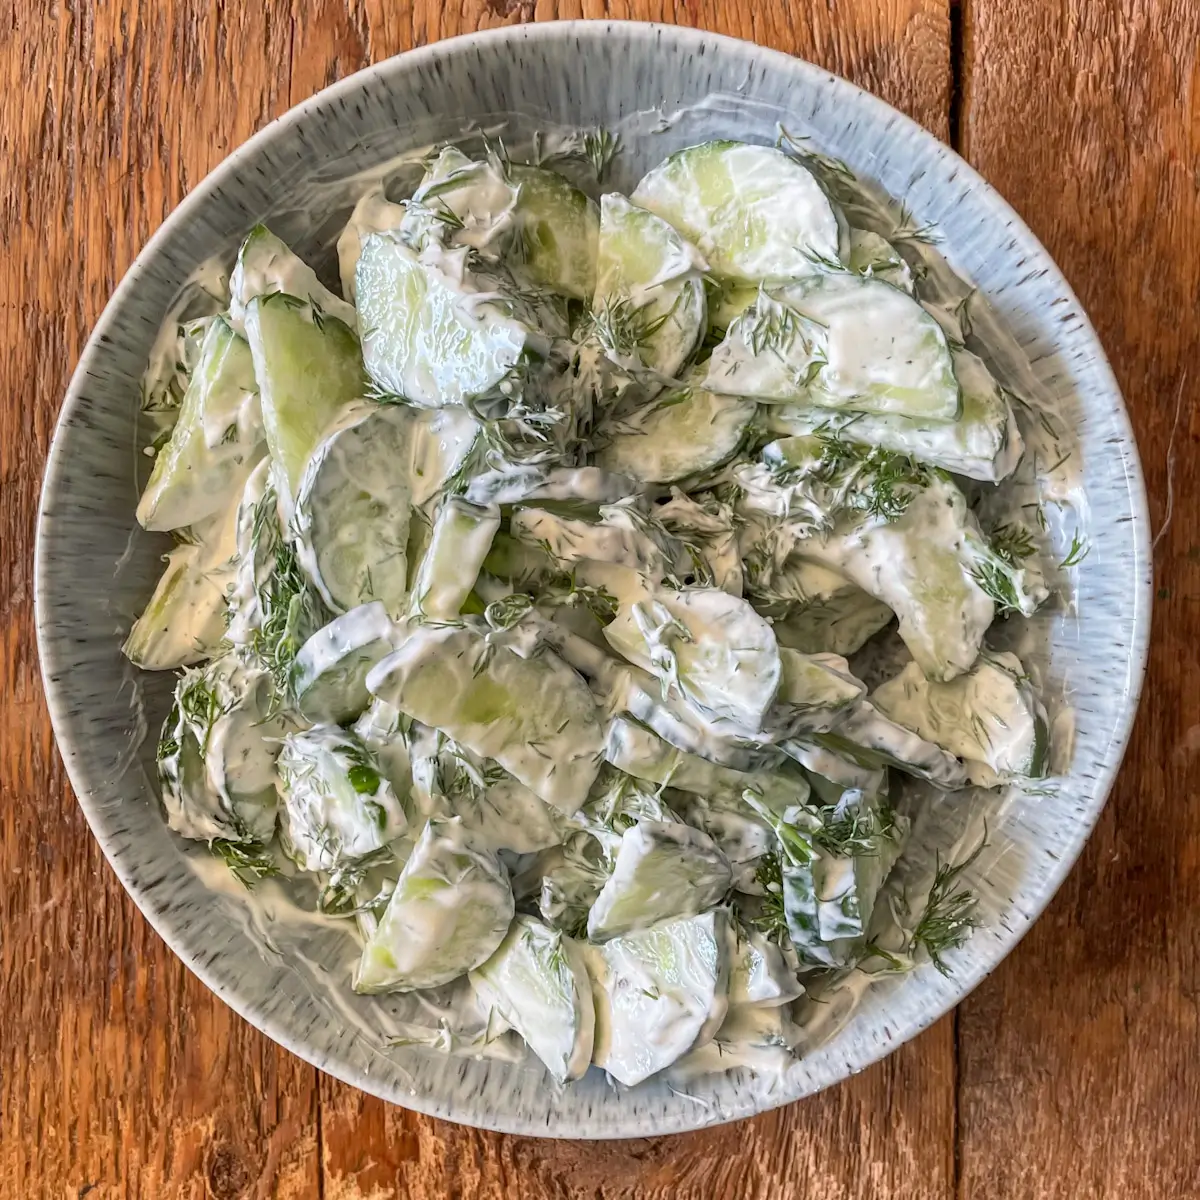
5 Minute Creamy Cucumber Salad
A quick and refreshing cucumber salad made with fresh dill. Perfect alongside barbecues, roasted meats or simple weeknight dinners.
-
Dinner Recipes | Dinner Salads | Lunch Salads | Mediterranean | Soups & Salads | Under 500 Calorie Meals | Vegetarian Mains
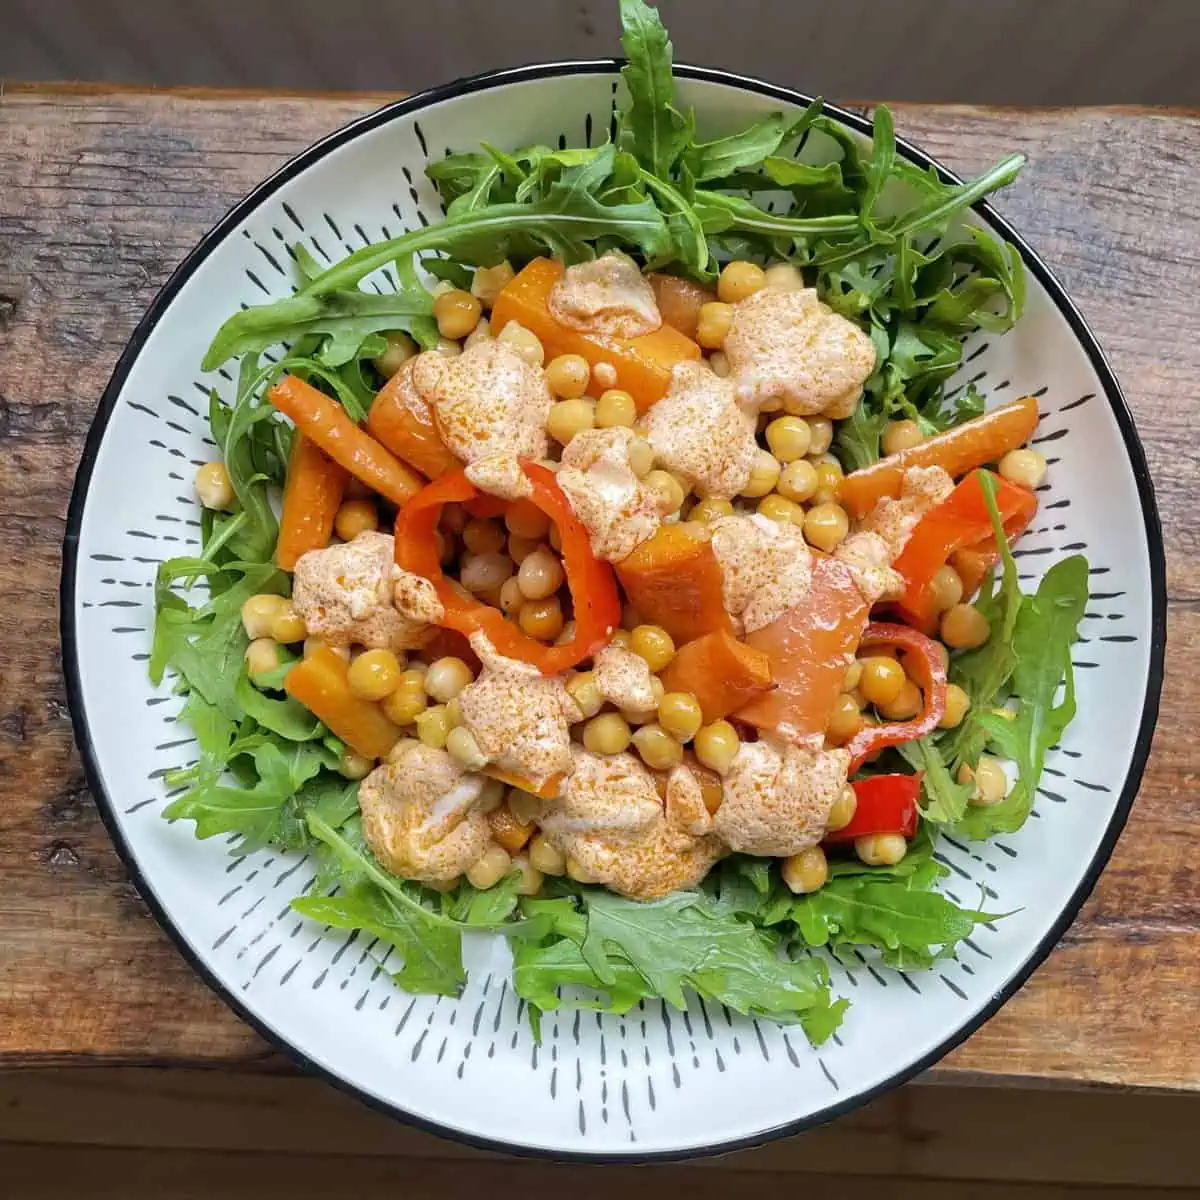
Warm Roasted Chickpea Salad With Pesto Yoghurt Dressing
This warm roasted chickpea salad with carrots, peppers and rocket is served with a pesto and yoghurt dressing.
-
Quinoa and Lentil Salad
This incredible quinoa and lentil salad with cucumber, feta, tarragon and orange makes the perfect lunch or side dish.
-
Dinner Recipes | Lentils | Lunch Salads | Meal Prep Friendly | Soups & Salads | Vegan Mains | Vegetarian Mains
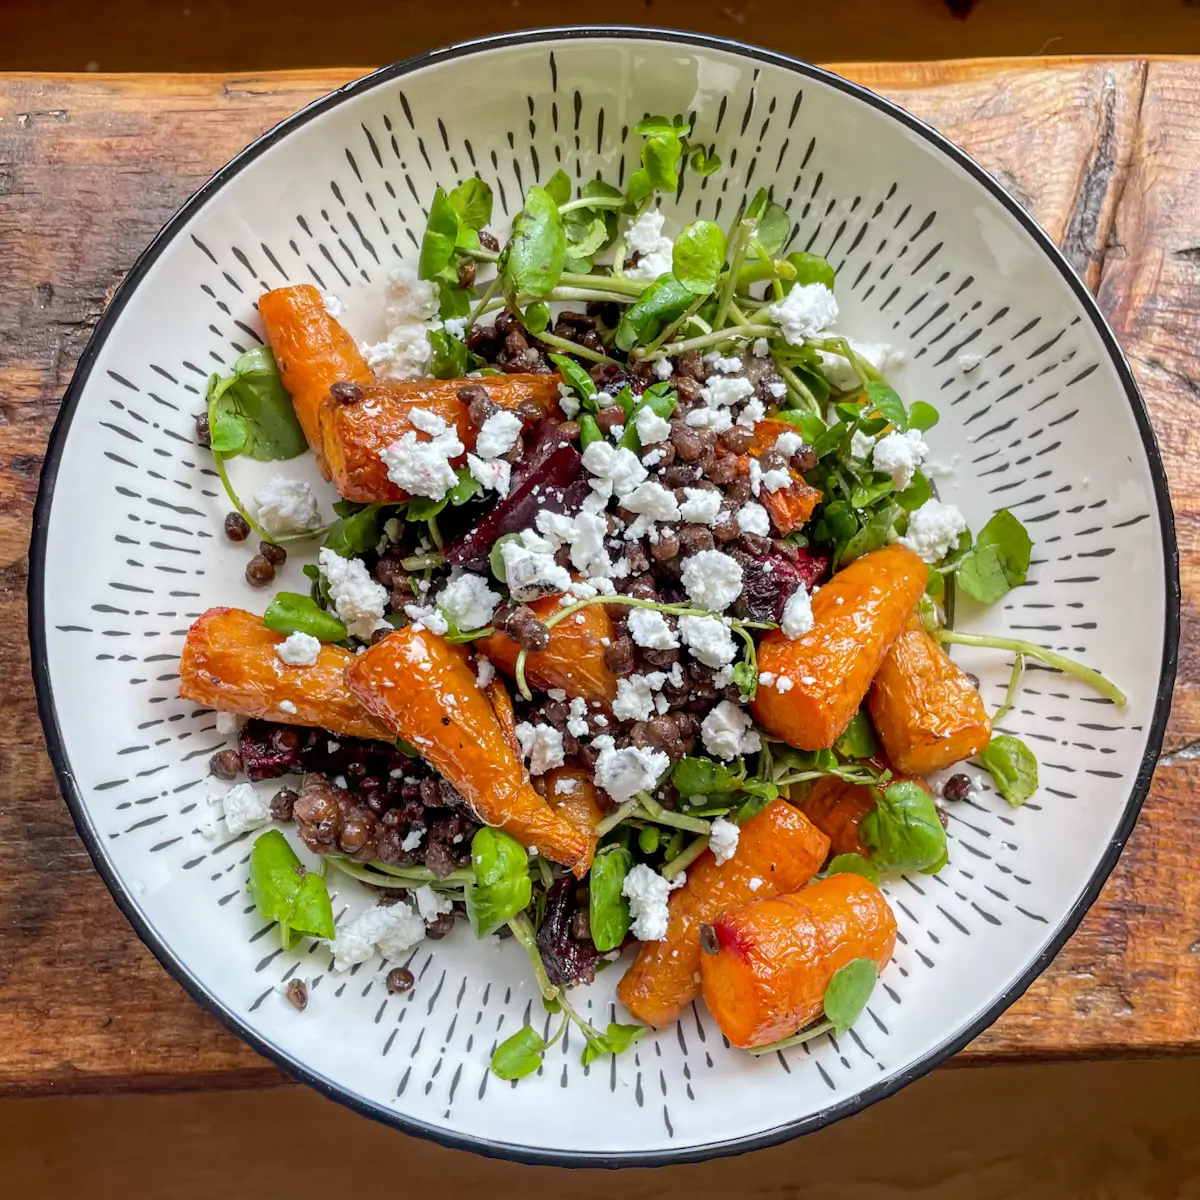
Roasted Carrot and Beetroot Salad
Packed full of good things, this filling carrot, watercress and beetroot salad with lentils and a honey lemon dressing makes a perfect vegetarian dinner.