WHAT TO COOK
Cuisine
American
Chinese
British
Indian
Indonesian
Italian
Japanese
Mediterranean
Mexican
Thai
Mains
Pasta
Soup
Rice
Pie
Noodles
Salad
Gnocchi
15 Minutes or Less
Lentils
Sweet
Cooking with Kids
Breakfast
Vegetarian
WHERE TO GO
UK – North West
UK – North Wales
About Me
Facebook
Instagram
TikTok
Pinterest
What To Have For Dinner Tonight
Search
meatless monday
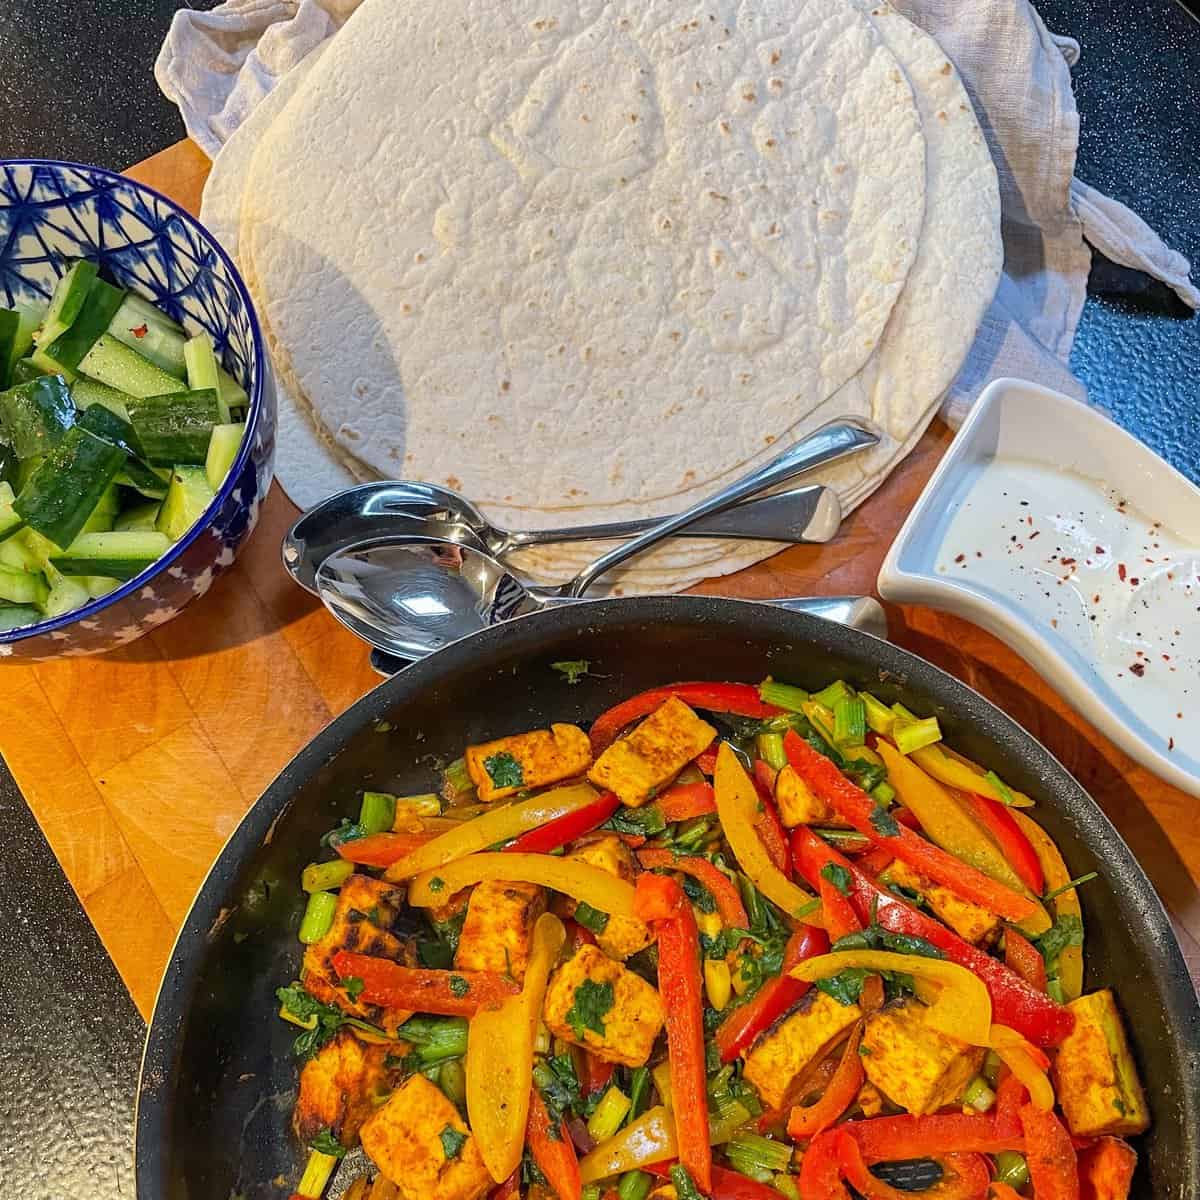
Paneer and Vegetable Wraps
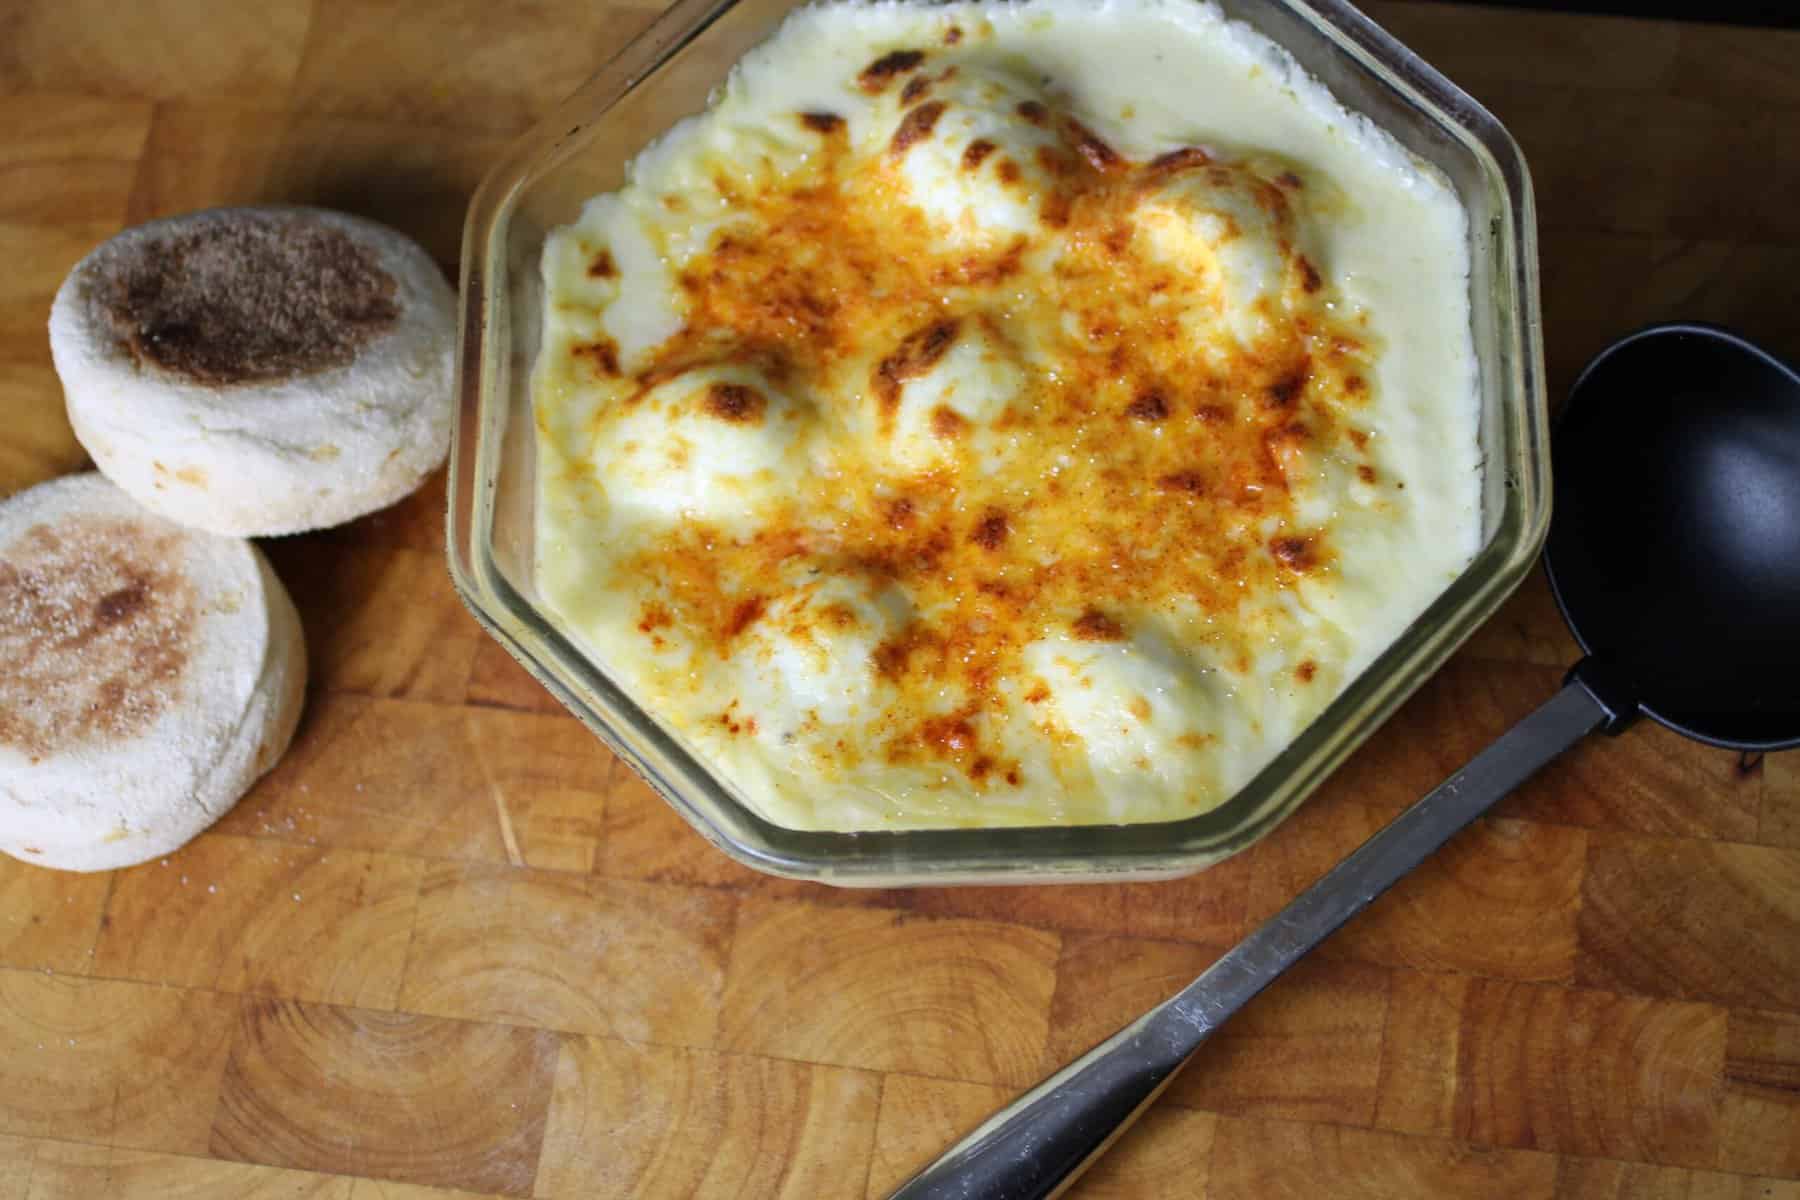
Anglesey Eggs
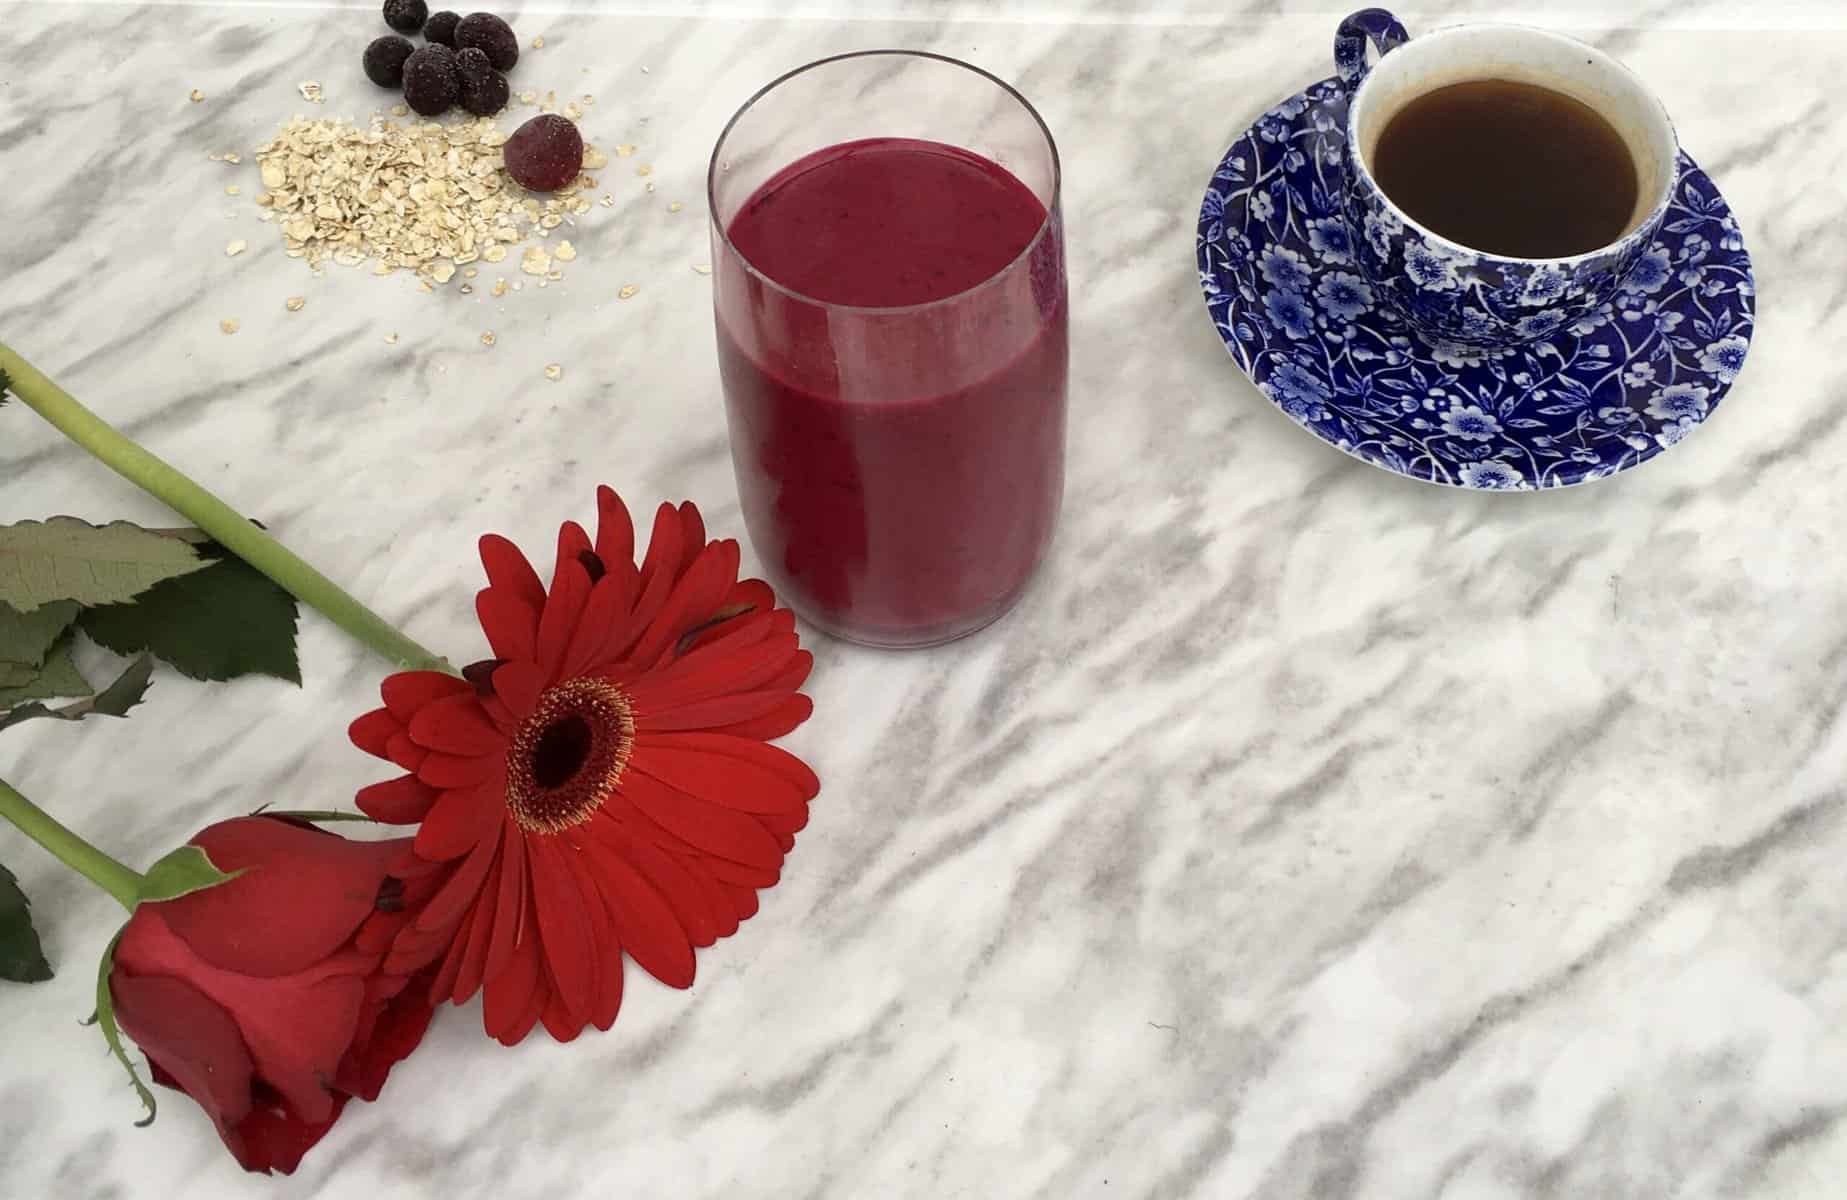
Black Forest Fruits and Beetroot Smoothie
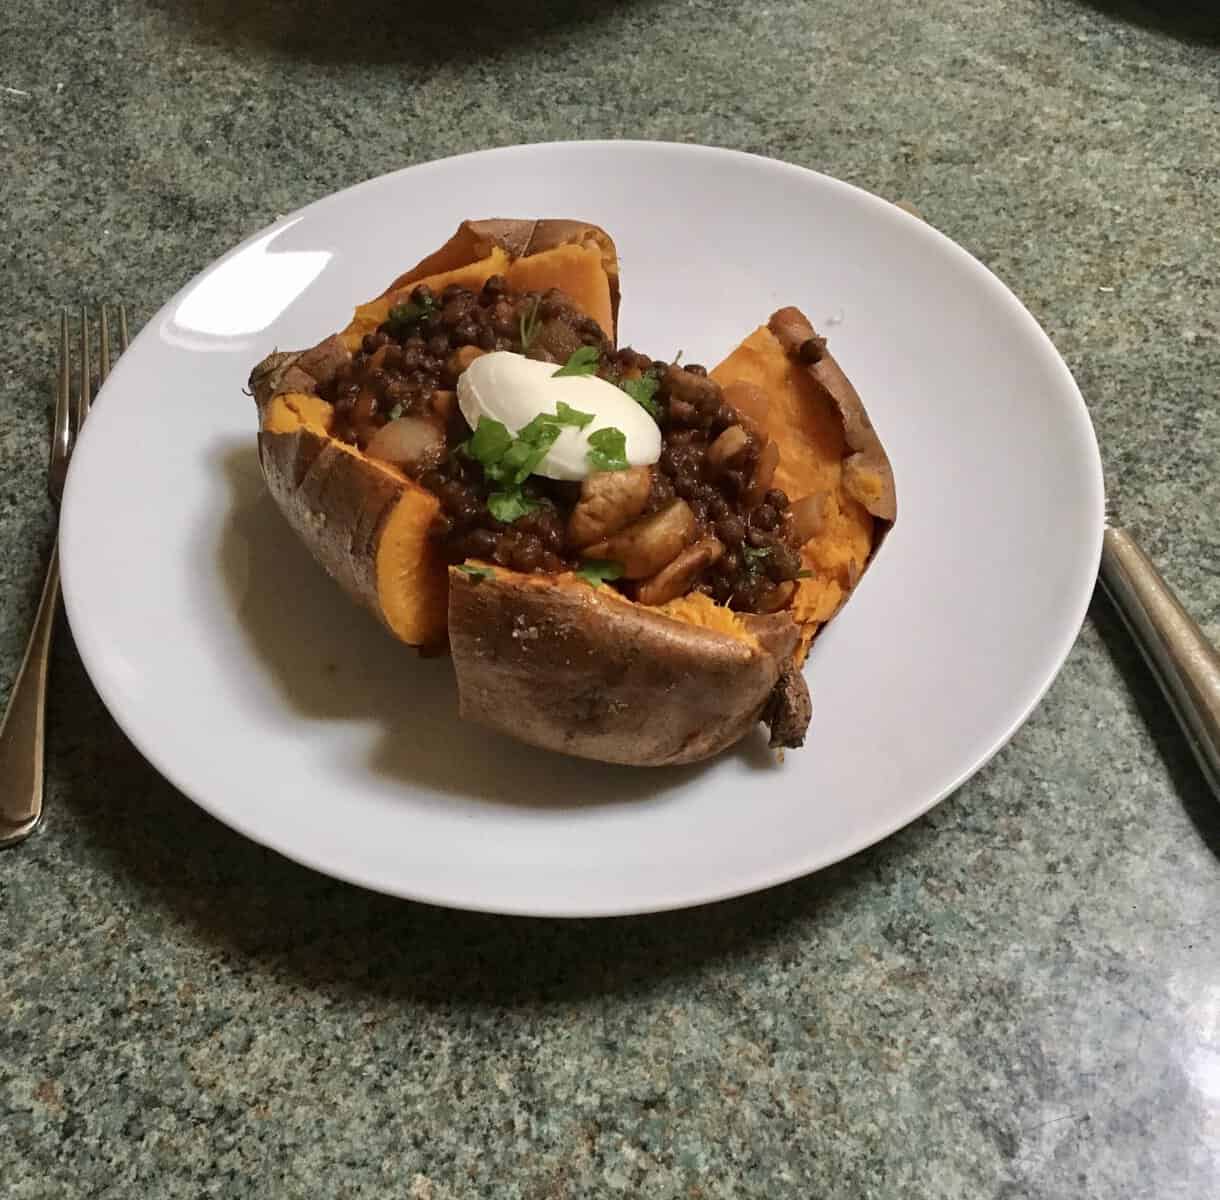
Lentil Chilli with Roasted Sweet Potato
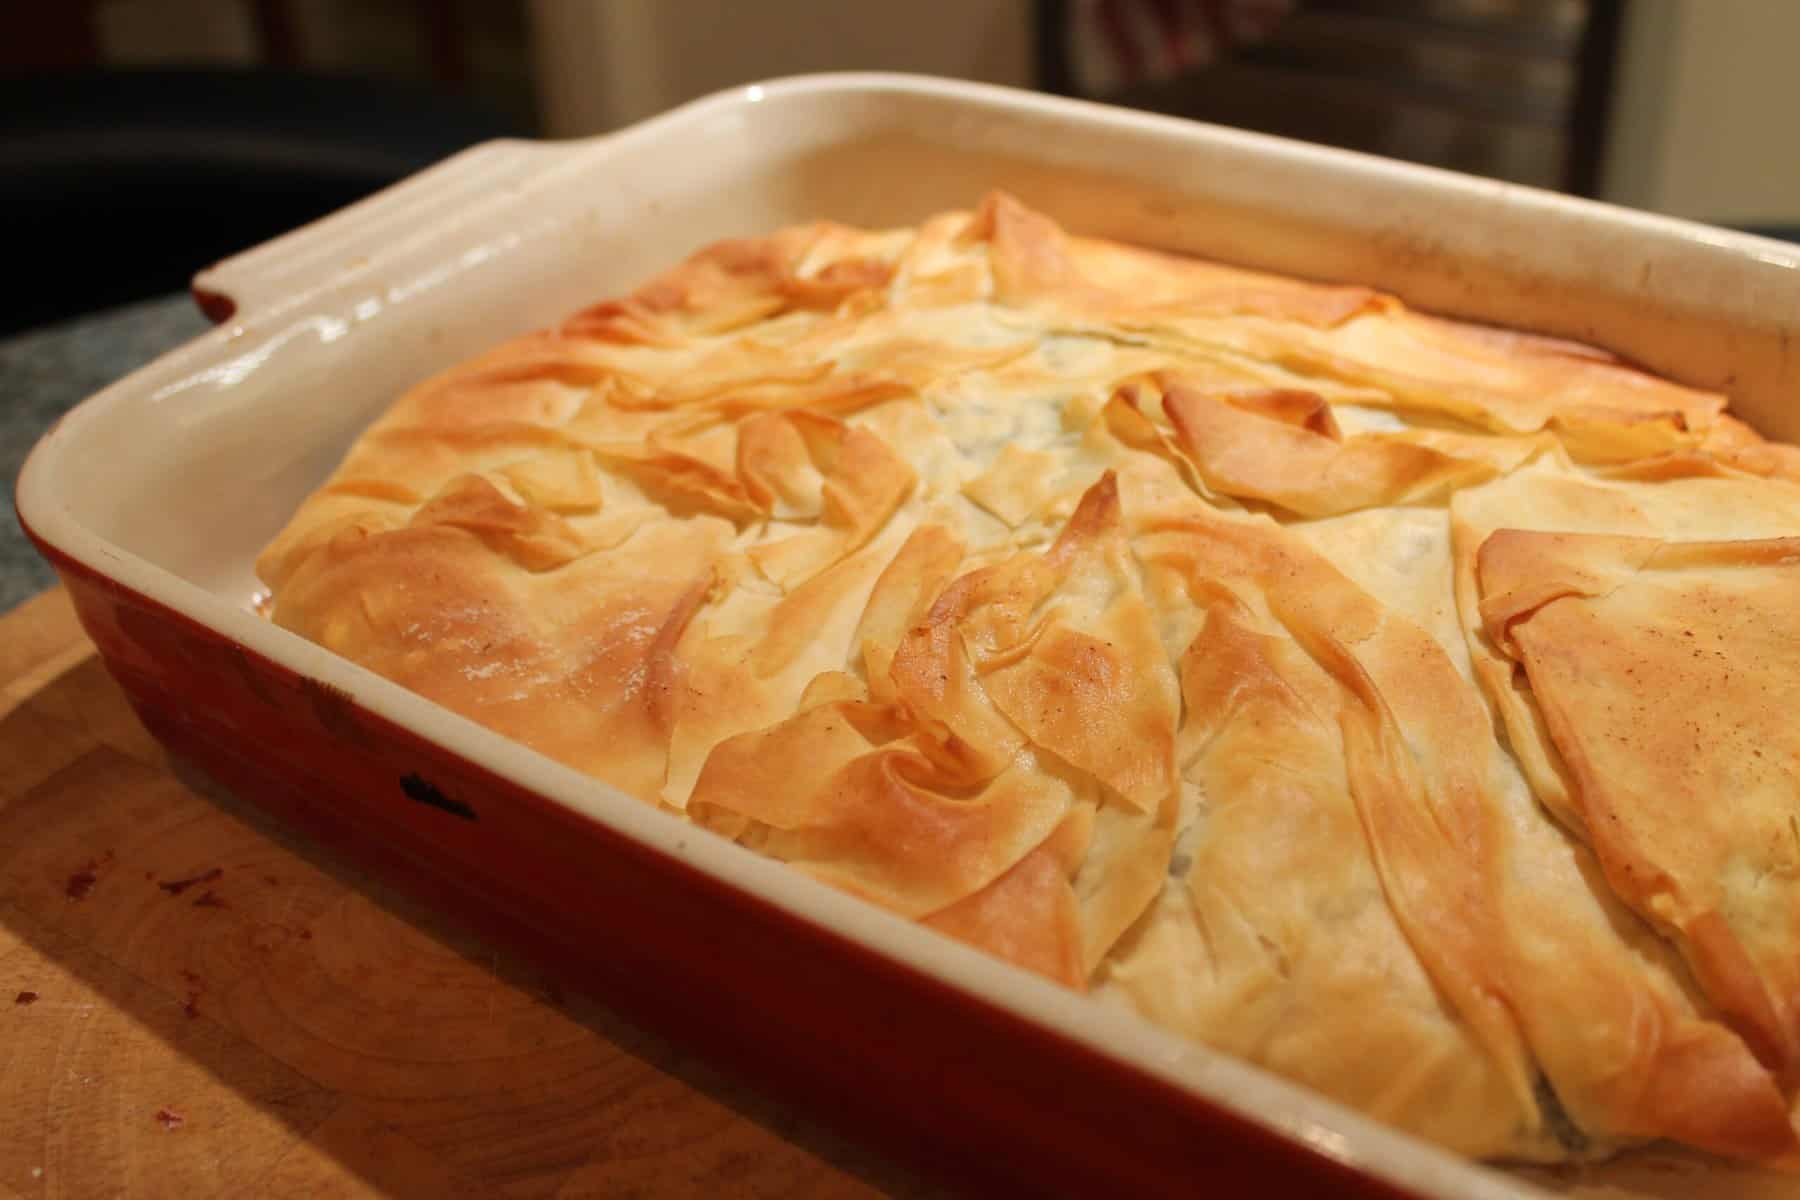
Spinach and Feta Filo Pie
Tomato Salsa Tostados
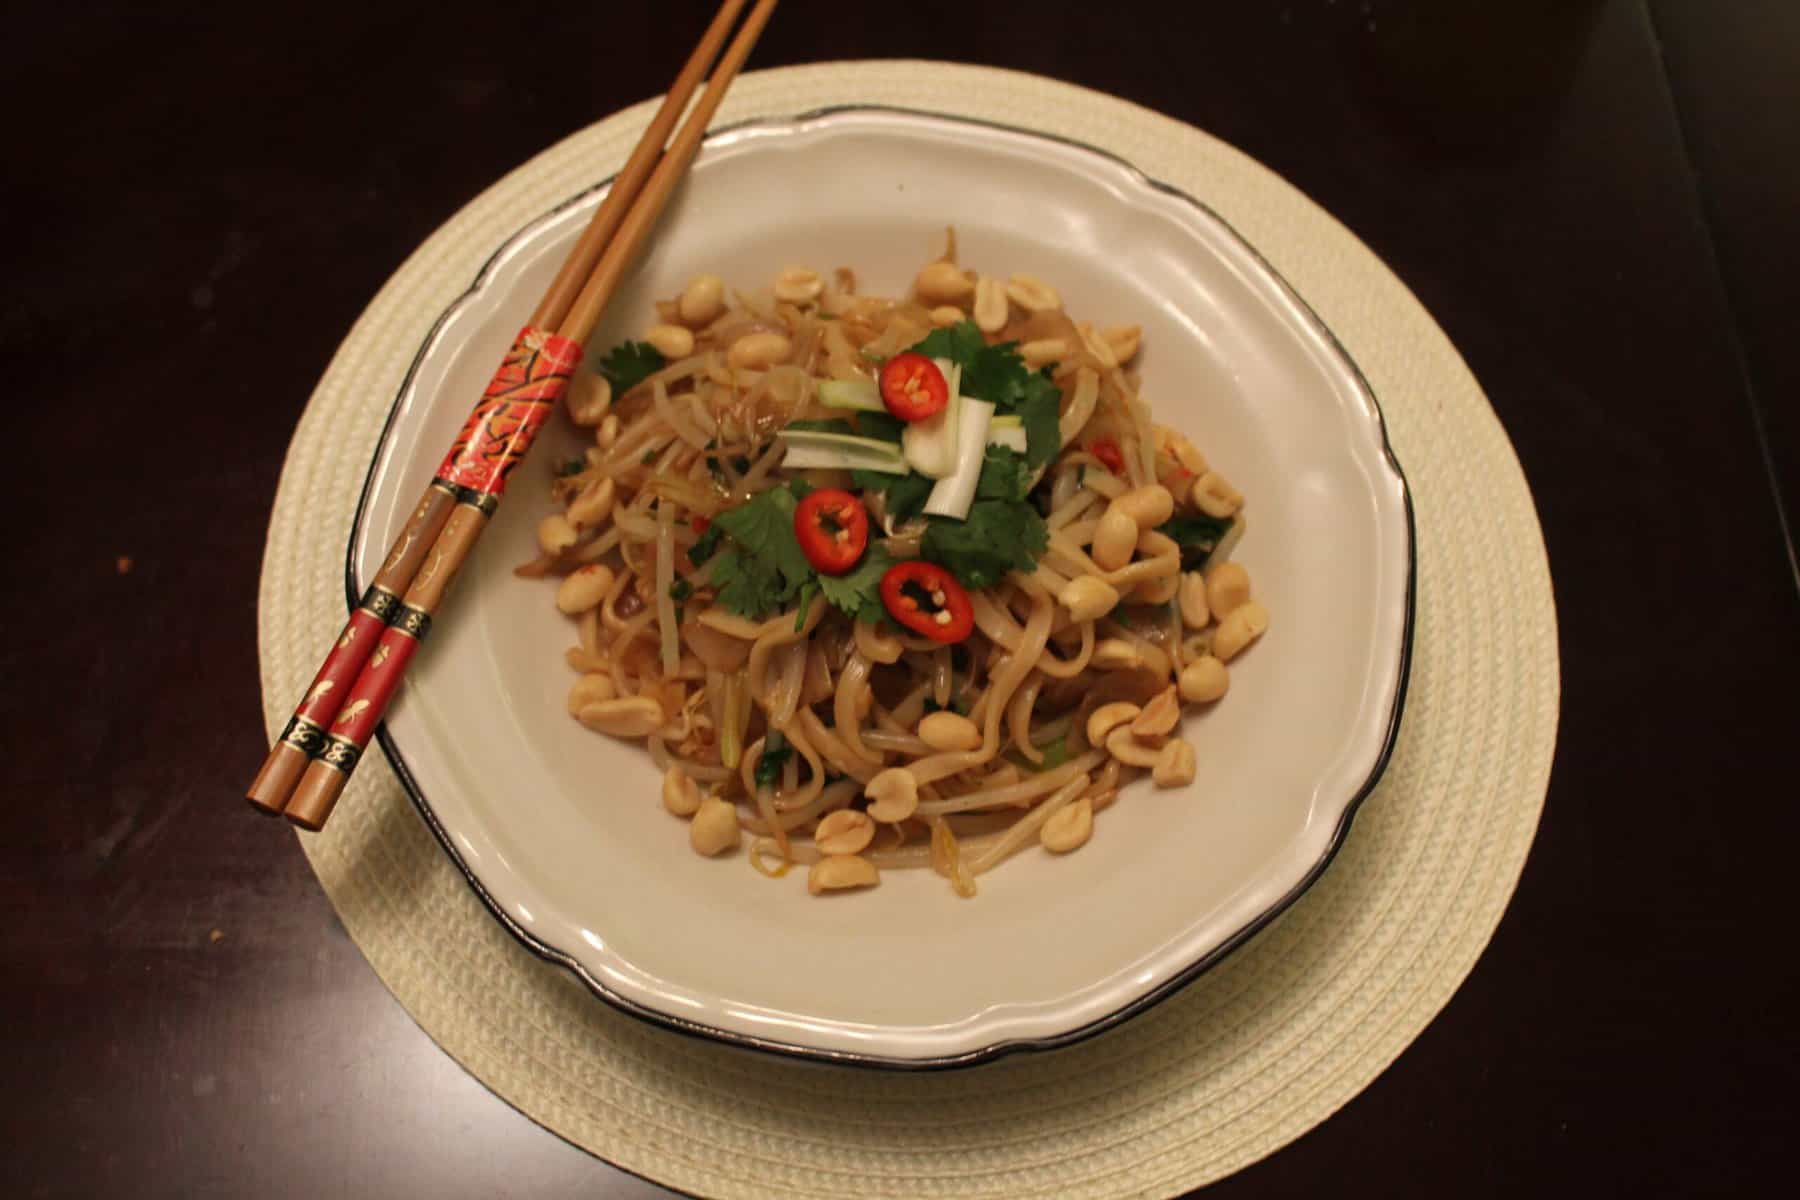
Vegetable Pad Thai
Loading Comments...
Write a Comment...
Email (Required)
Name (Required)
Website